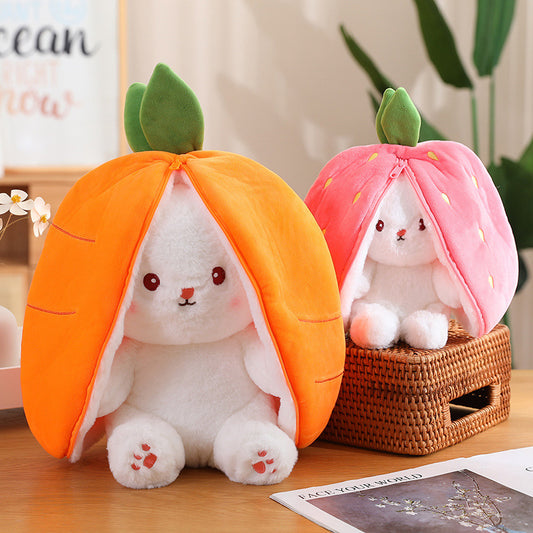
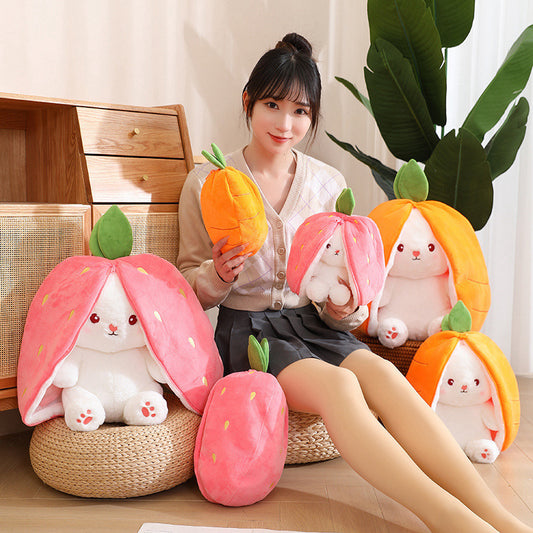
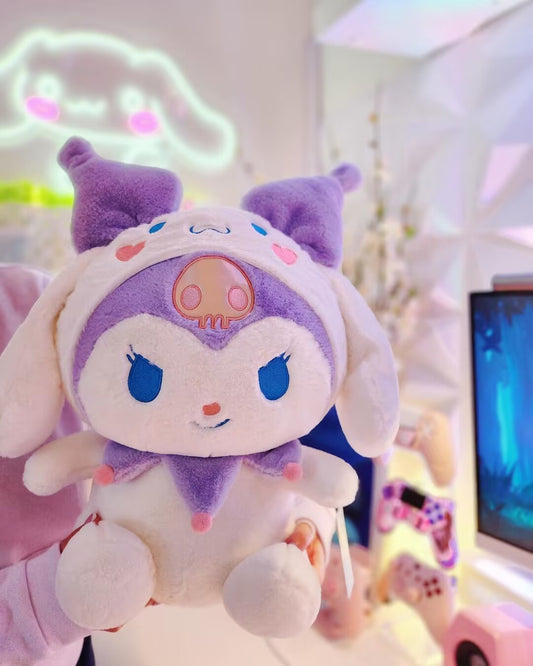
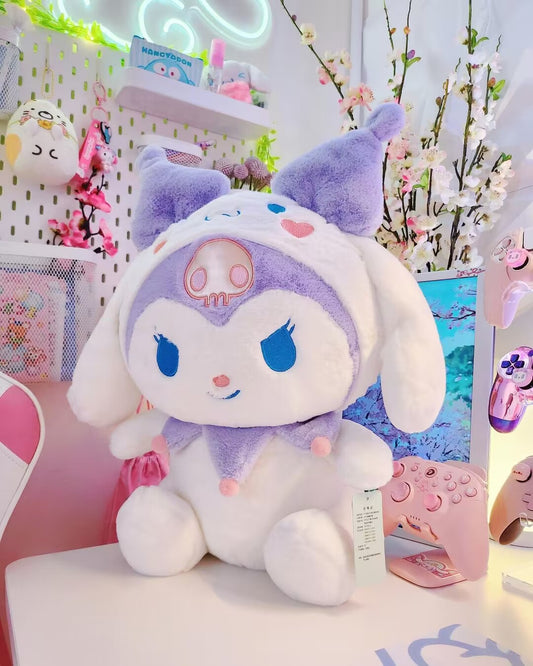
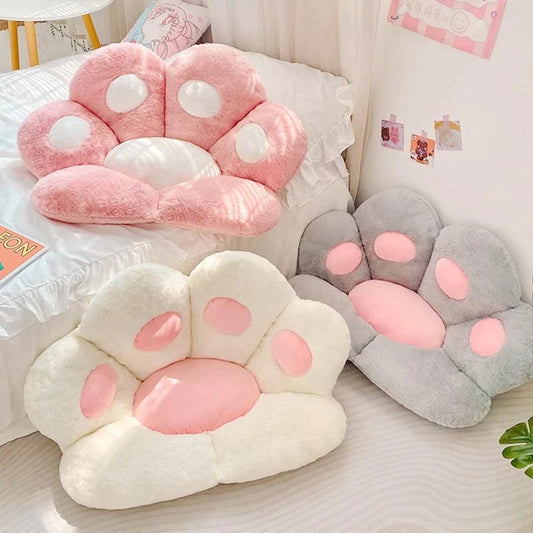
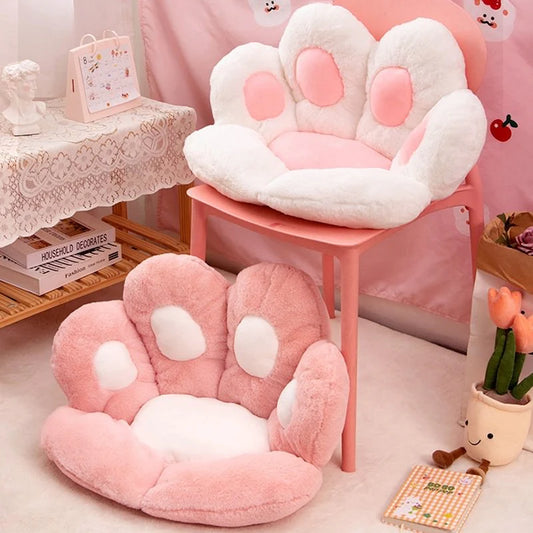
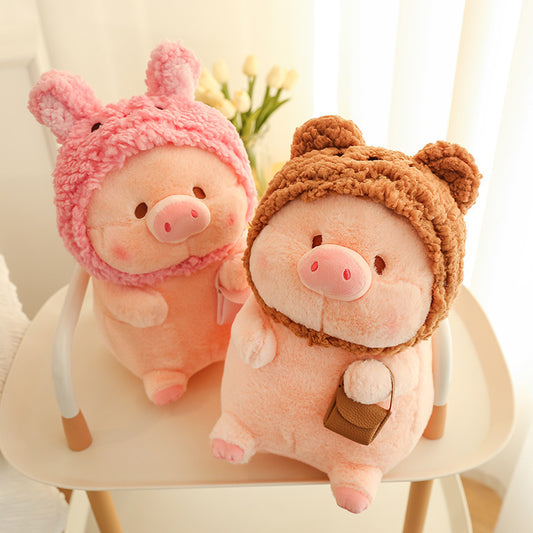
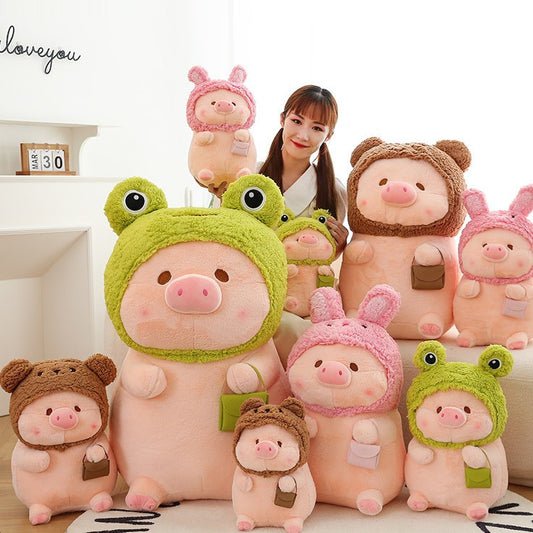
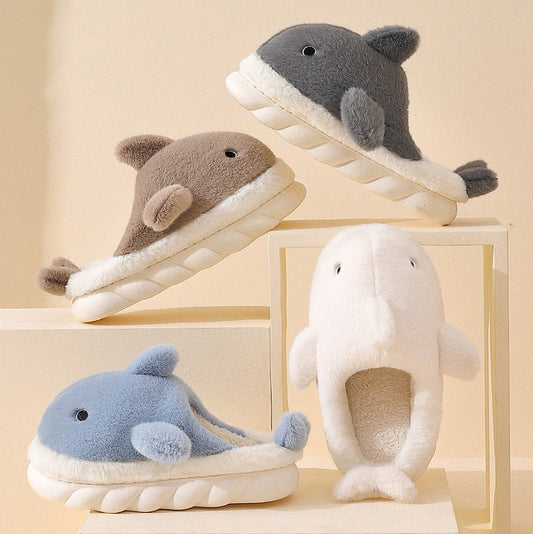
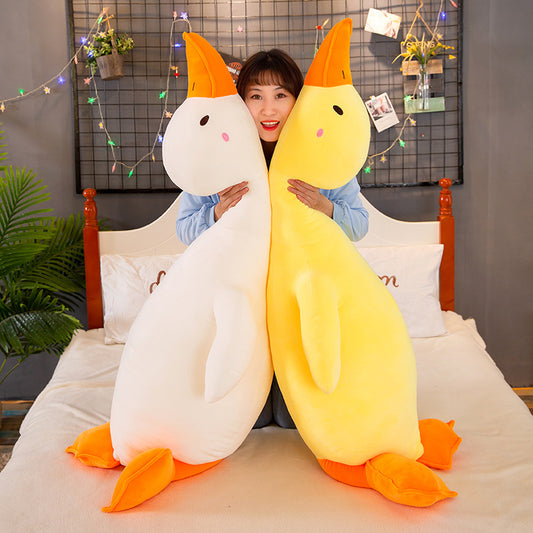
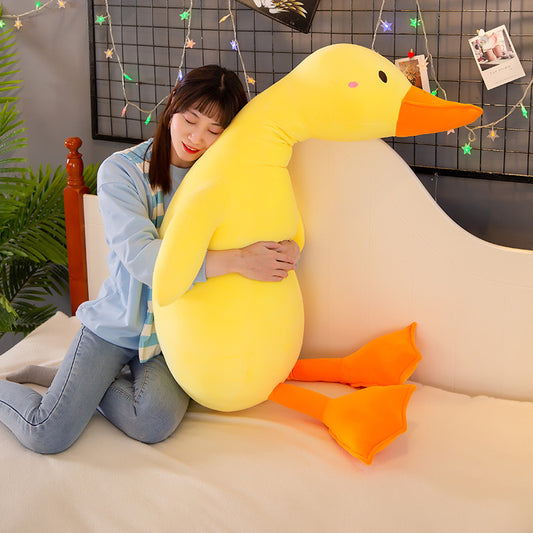
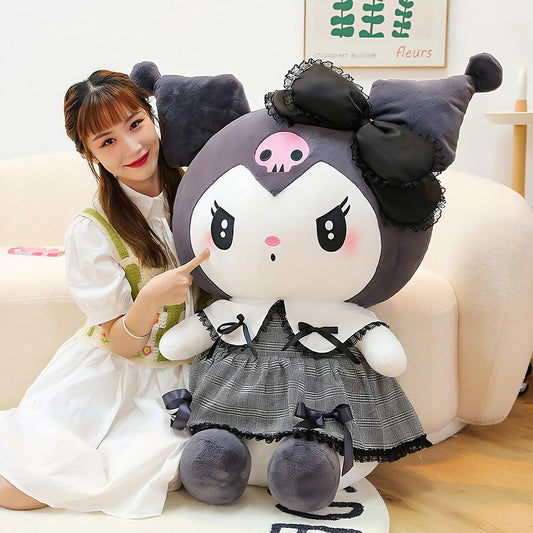
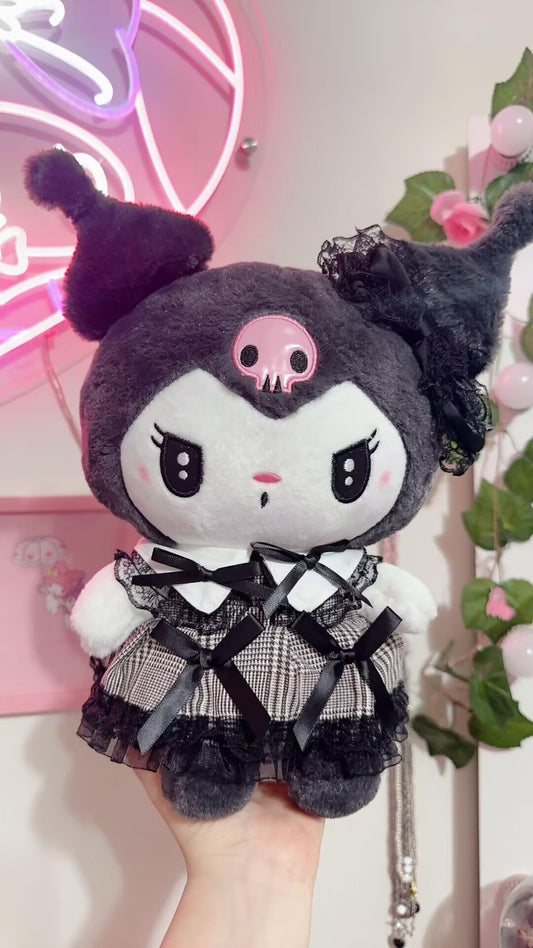
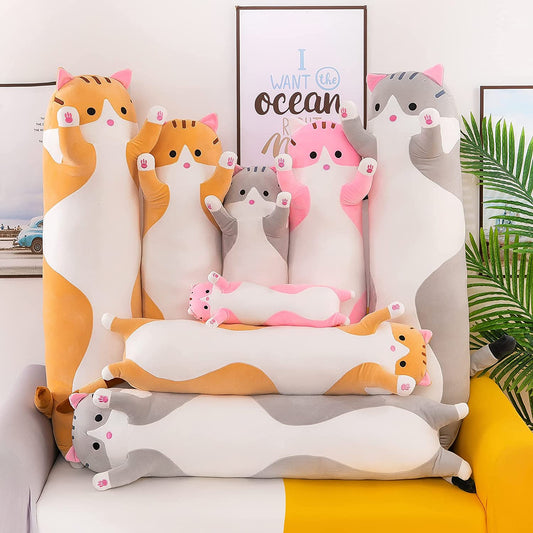
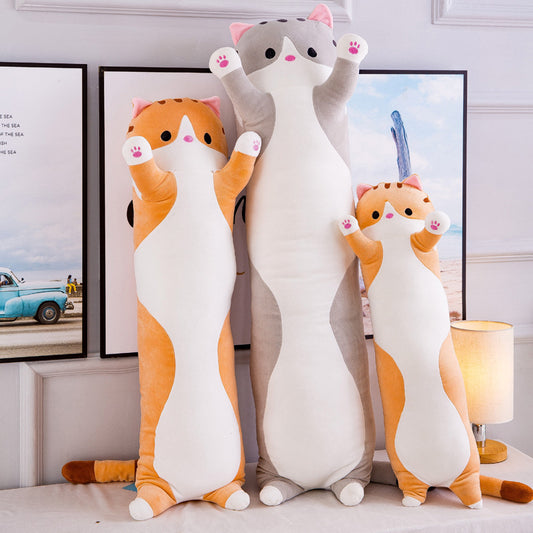
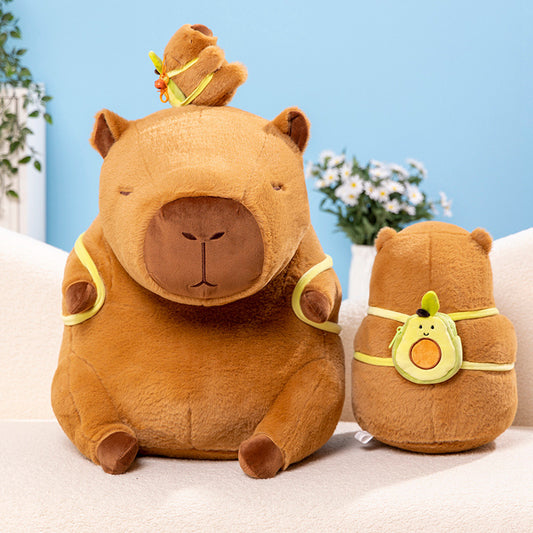
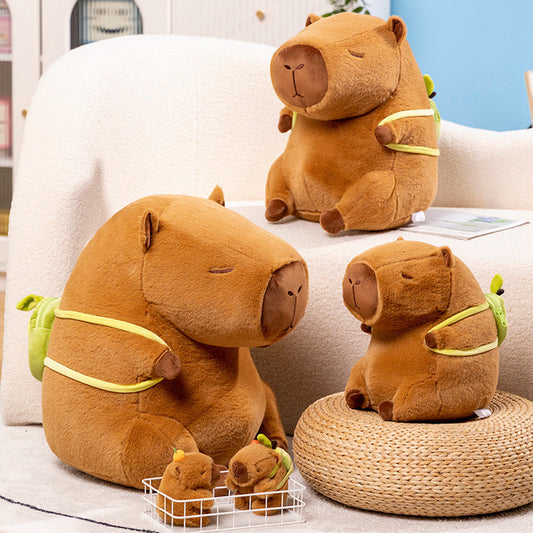
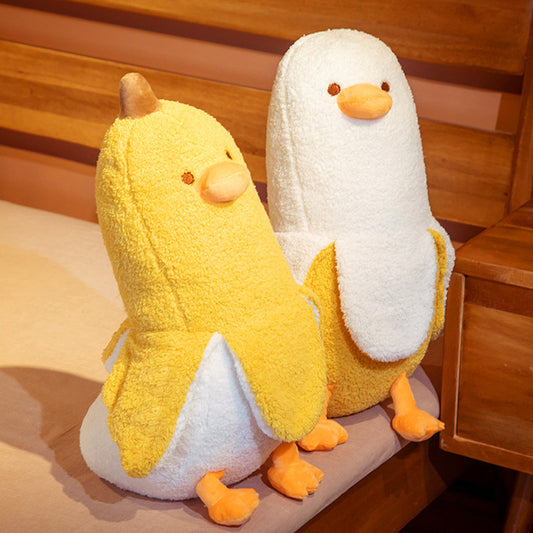
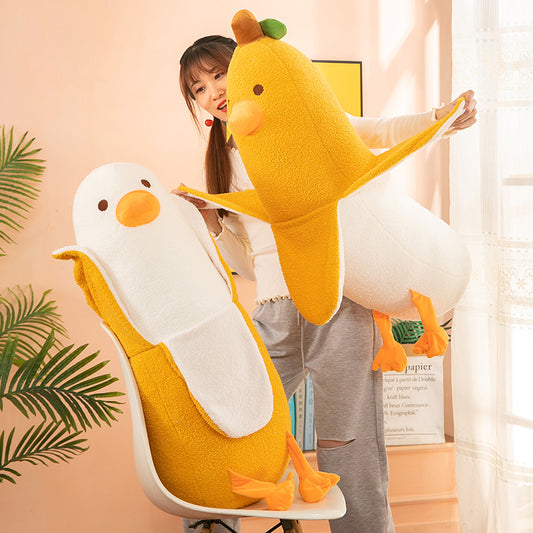
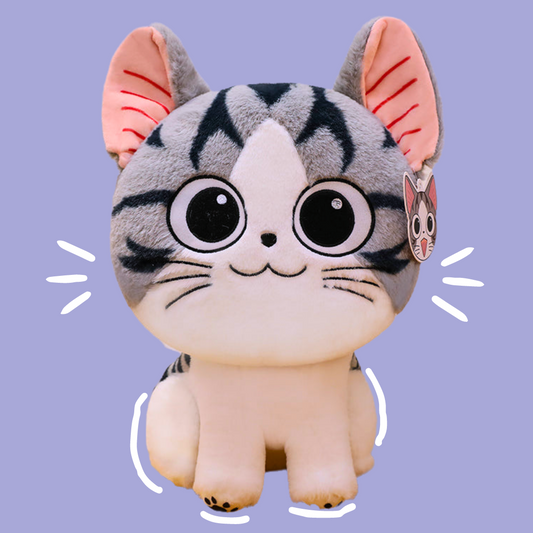
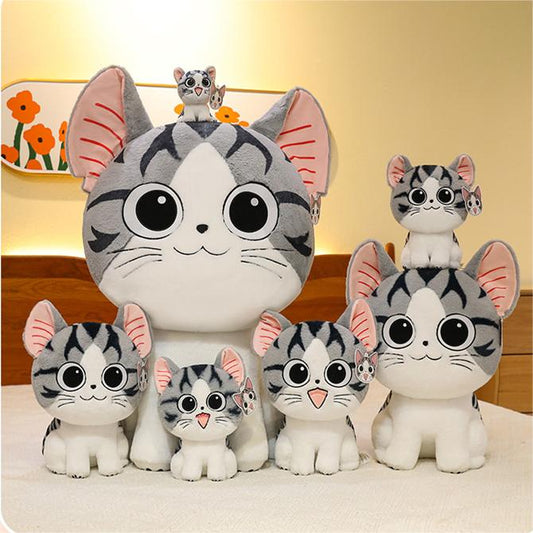
There's something incredibly special about a plush toy. It's more than just a cuddly companion; it's a handmade creation that holds sentimental value and can bring joy to both children and adults alike. If you're looking to unleash your creativity and embark on a delightful crafting adventure, making your own DIY plush toys is the perfect project. In this article, we'll guide you through the steps to create your very own adorable and personalized plush toys.
Materials You'll Need:
-
Fabric: Choose a soft, plush-friendly fabric such as fleece, minky, or felt. Select a variety of colors and textures to add character to your creations.


-
Sewing Supplies: Invest in a good pair of fabric scissors, sewing needles, pins, and a sewing machine (optional but recommended for efficiency).
-
Thread: Match your thread colors to your fabric choices for a seamless finish.
-
Stuffing: Opt for polyester fiberfill, which is readily available at craft stores, to give your plush toy its fluffy and huggable form.


-
Embellishments: Get creative with buttons, ribbons, embroidery thread, and fabric markers to add eyes, noses, and other details to your plush toys.
- Templates: Draw or print out templates of the desired shapes for your plush toys.
Step-by-Step Guide:
-
Choose a Design: Decide on the type of plush toy you want to make—animals, characters, or even objects like cupcakes or stars. Simple shapes are a good starting point for beginners.

-
Prepare the Templates: Use paper or cardboard to create templates for your plush toy shapes. You can find templates online or draw your own based on your imagination. Make sure to include seam allowances.
-
Select and Cut Fabric: Lay your chosen fabric flat and pin the templates onto it. Cut around the templates, leaving a small seam allowance (approximately ¼ inch) on all sides.
-
Pin and Sew: With the right sides of the fabric facing inward, pin two identical fabric pieces together, aligning the edges. Use a straight stitch on your sewing machine or sew by hand, leaving a small opening for stuffing. Remember to backstitch at the beginning and end to secure the seams.
-
Stuff the Toy: Turn your fabric right side out through the opening. Use small amounts of polyester fiberfill to stuff the toy gradually, ensuring it's evenly distributed. Use a chopstick or a pencil to push the stuffing into small corners.
-
Close the Opening: After you're satisfied with the stuffing, carefully hand stitch or use a ladder stitch to close the opening. Make sure the stitches are secure and hidden within the seam.
-
Add Personal Touches: Use buttons, ribbons, or embroidery thread to create eyes, noses, and other details on your plush toy. You can also sew on fabric patches or use fabric markers to draw additional designs.
-
Experiment and Explore: Don't be afraid to experiment with different fabrics, colors, and embellishments to make your plush toy truly unique. Personalize it by adding a name or a small embroidered message.
-
Care Instructions: Before presenting your handmade plush toy to its new owner, remember to include care instructions. Most plush toys can be spot cleaned or gently hand washed when needed.
Conclusion: Crafting your own DIY plush toys allows you to unleash your imagination, showcase your creativity, and create memorable keepsakes. From adorable animals to whimsical characters, the possibilities are endless. By following this step-by-step guide and infusing your personal touch, you'll be amazed at the joy and love these handmade plush toys can bring. So grab your materials, dive into the world of plush toy-making, and start crafting.
